As a Power Apps developer, you should know how to use data table control to display a set of data in the Power Apps canvas app. I will show you step-by-step how to use the data table control in Power Apps with some real examples that I did for a few clients.
If you are new to Power Apps, I would recommend following a tutorial on building a canvas app from scratch in Power Apps. Once you created the app, then you can follow the steps.
Let me first explain what is a data table control in Power Apps.
Data table control in Power Apps
A data table control in Power Apps is a control that displays data in a tabular format with column headers for each field. Some key points about data table controls:
Advantages:
- It presents data in a structured, tabular format, which is excellent for displaying read-only data from a dataset. The Data table control shows a dataset in a format that includes column headers for each field that the control shows.
- It supports displaying two-dimensional data, unlike galleries. The Data table component is the only built-in control supporting two-dimensional data, and many developers use Galleries rather than Data tables to display data.
- The data table control in Power Apps contains the Selected property, which points to the current row, and that is why you can link the data table control to another control in Power App. For example, you can use a Display form control to display the selected item from a data table control.
Disadvantages:
- Data in a data table is read-only and cannot be edited. Data in a Table control is read-only.
- Cannot add other controls inside a data table. You cannot add controls to a data table
- No horizontal scrolling is available; data can only be displayed vertically. There is no horizontal data table
Check out Set Control Value in Button Click on Power Apps
How to Use Data Table Control in Power Apps
Here, I am using a blank canvas app to show this demo.
- By default, when you create a blank canvas app, it will create a blank screen. Here, click on the + Insert button and then search for the data table and select a “Data table” control. Then, the data table control will be added to the screen. By default, it will ask you to select a data source. Close this dialog box.
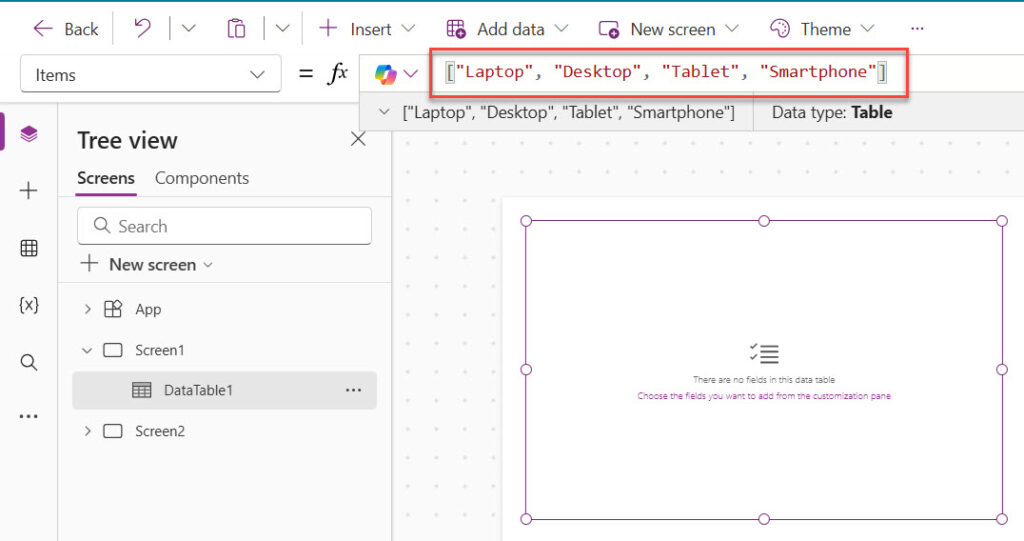
- Then, choose the items property of the data table control and write the formula below:
["Laptop", "Desktop", "Tablet", "Smartphone"]It should look like below:
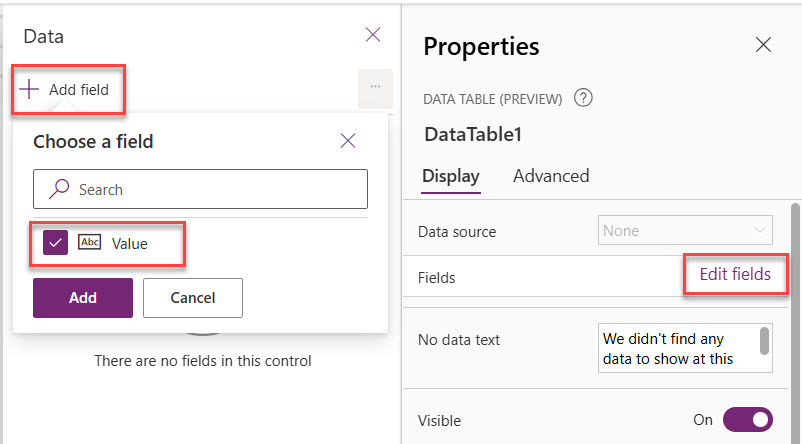
- Next, select the data table, and from the Properties on the right side, click on Fields -> Edit fields. Then click on the + Add field in the Fields dialog. Then in the Choose a field, select the Value check box and then click on the Add button. It should look like below:
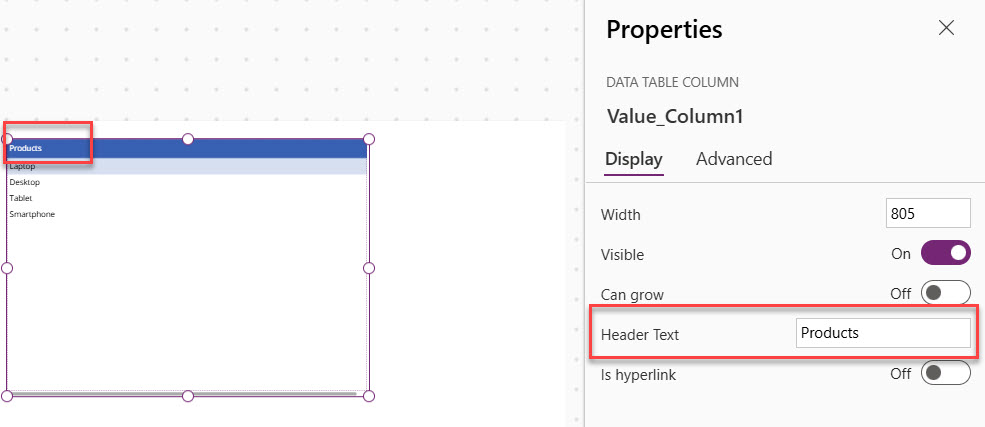
- Now, the items will be displayed in the data table control in Power Apps. But the header of the column will appear as “Value” like below:

- But you can easily change the header of the column. Select the column, and then from the Properties dialog box, choose “Header Text” and change it like the screenshot below. Here, I have provided the Text as Products.
This is how you can display items manually in a Power Apps data table control.
Read Clear/Reset Variables in Power Apps
Display Data in a Data Table from a SharePoint List
Now, let me explain how to display SharePoint Online list data in a Power Apps data table control.
Here, I have a list that contains a few items, and it looks like the below:
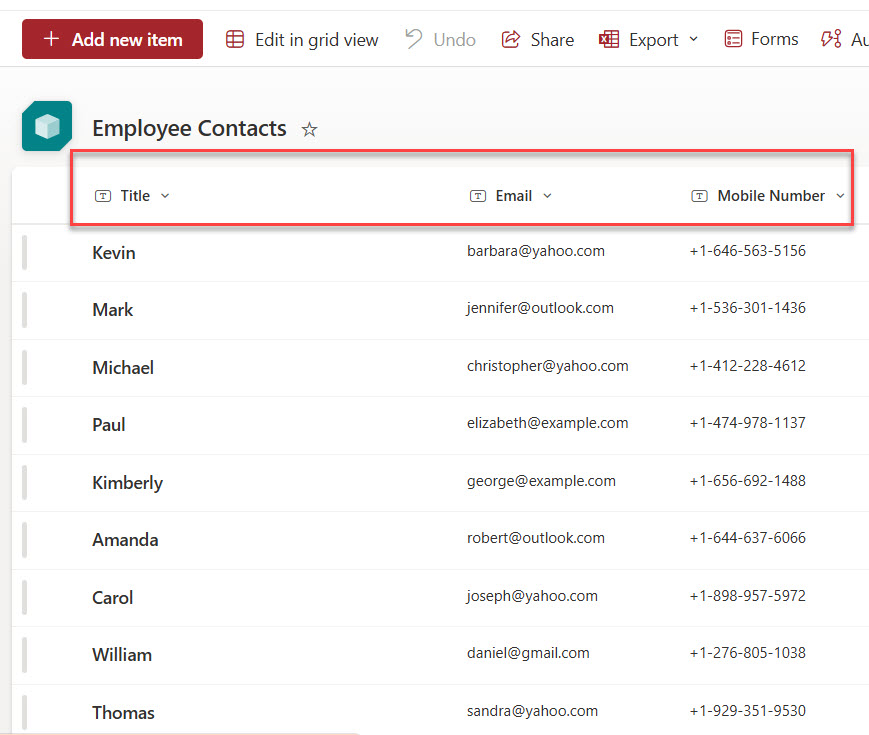
Follow the above SharePoint list data using a data table control in Power Apps.
- For this demo, I have just added another screen; in that screen, I added another data table control. Here, I have created a SharePoint data connection to connect to the above SharePoint Online list. Here, select the data table control, choose the Items property, and give the Data Source name. Then, it will display all the items from the SharePoint Online list in the data table control.

Now, I will show you how to display the selected item of a data table control in a display form.
Display Power Apps Data Table Selected Item in a Display Form
Now, let me show you how to display the selected item of a Power Apps data table in a display form.
- On the same Power Apps screen, add a display form. For this, from the command bar, click on + Insert -> Display form. Then, we need to set some properties.
- Select the Display form and then choose the below properties:
Data Source = 'Employee Contacts'Item = DataTable2.SelectedHere, DataTable2 is my data table name.
You can see the screenshot of what it looks like:
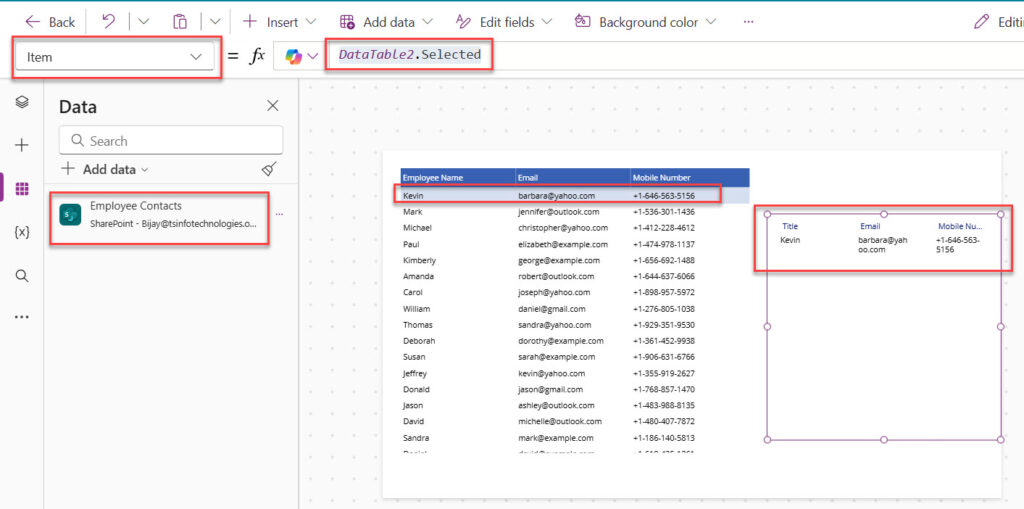
Once the user selects an item in the data table, the details will be displayed in the display form, as shown in the screenshot above.
Conclusion
Data table controls are really useful to display a list of items in tabular format. In this tutorial, I explained how to work with data table control in the Power Apps canvas app. We also saw an example of displaying a SharePoint Online list on a data table control in Power Apps.

Bijay Kumar is a Microsoft MVP in Business Applications with over 18 years of experience in the IT industry and more than 12 years as a Microsoft MVP, recognized for his contributions to the Microsoft community. He is the Founder of TSinfo Technologies and the creator of the popular technology platforms SPGuides.com and EnjoySharePoint.com. Bijay also runs the SPGuides YouTube channel, where he shares practical tutorials on Microsoft 365, SharePoint, Power Platform, and Copilot technologies. Read more.